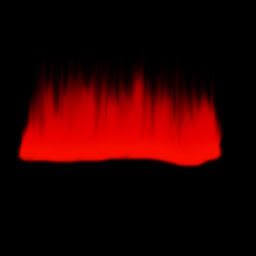
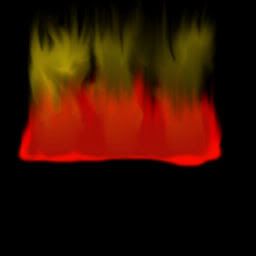
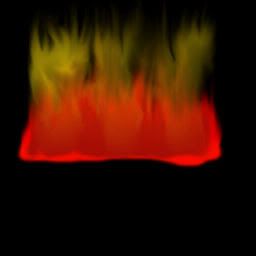
Honestly alot of it is like cale said. It's all layering. Pretty much for the flames what i did is just created a new raster layer then painted a couple lines with the paint brush about 13 pixels wide to start then just gradually went smaller pixel size with the paint brush and just used the smudge tool and went to town on it "carefully" untill it just looked right. Simple rule to remember is that if you want 2 different colors blended together just paint the darker color first then the lighter color on top of it. Now if you want to go the route of realistic flames of a same color it's like i desribed above but you want to create a new raster layer before you use the paint brush. Now mind you the sample images below are just a 15 min throw-together for examples sake of the layer on layer method. Just have to remember when your creating flames the darker colors like the deep reds i used are going to be your main colors and the pastels like the yellow and bright orange i used are going to be your "accent" colors. Another thing about when using a new layer for everything is the layer "order" which goes from your first layer which is going to be your bottom layer under everything to layer "x" wich is going to be your top layer. Also alot of the tools i use for masking are the selection tools. Mainly the shape selection and the magic wand.TlathamXmahtalT wrote:When you did the texturing, how did you mask it?


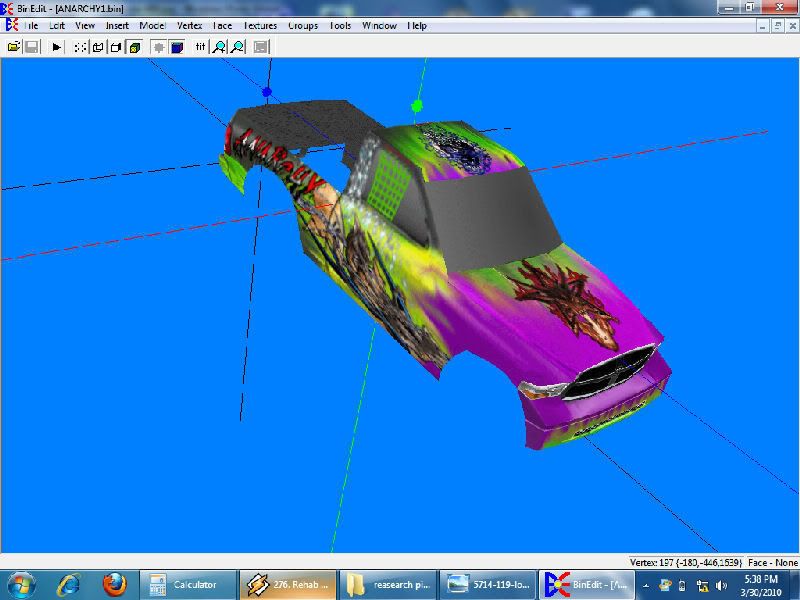
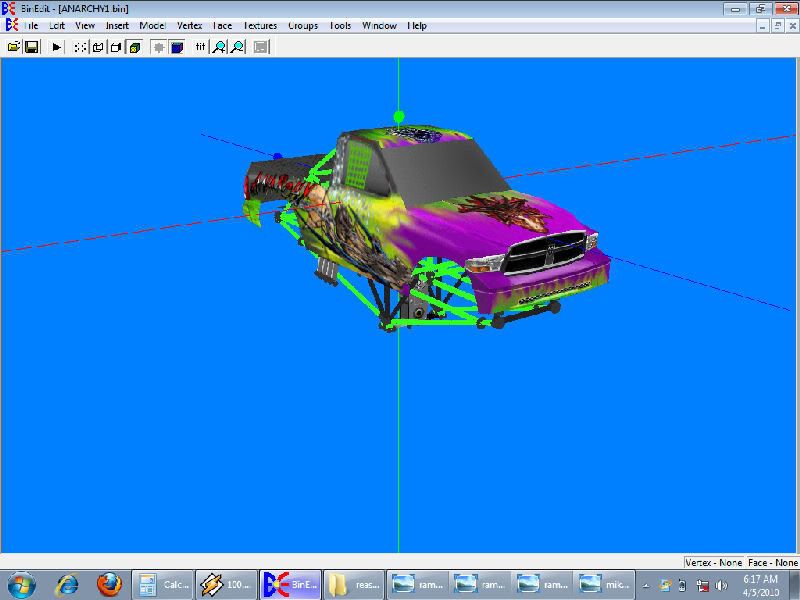
But anyways here's the right side of truck mapped [;)]
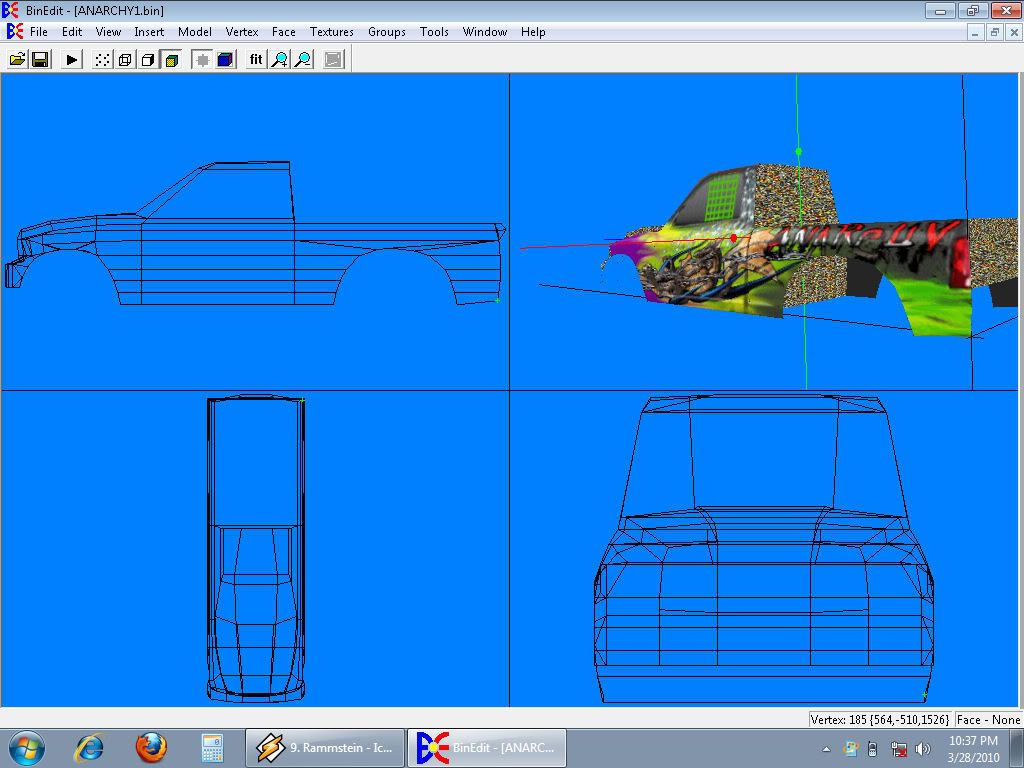
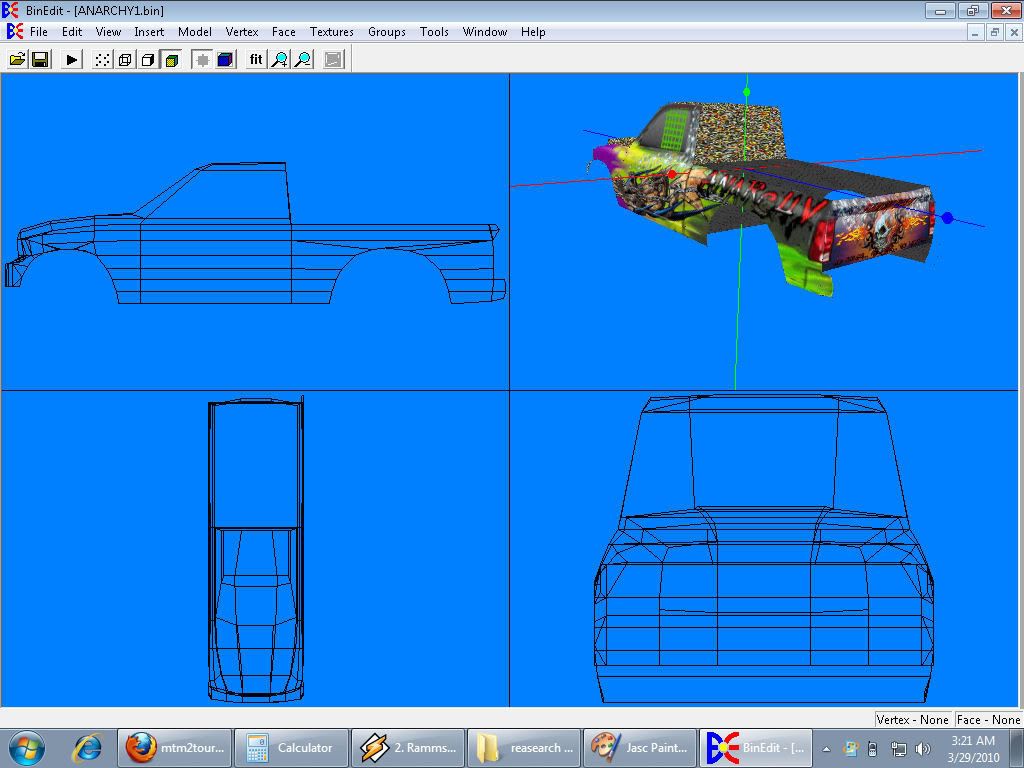
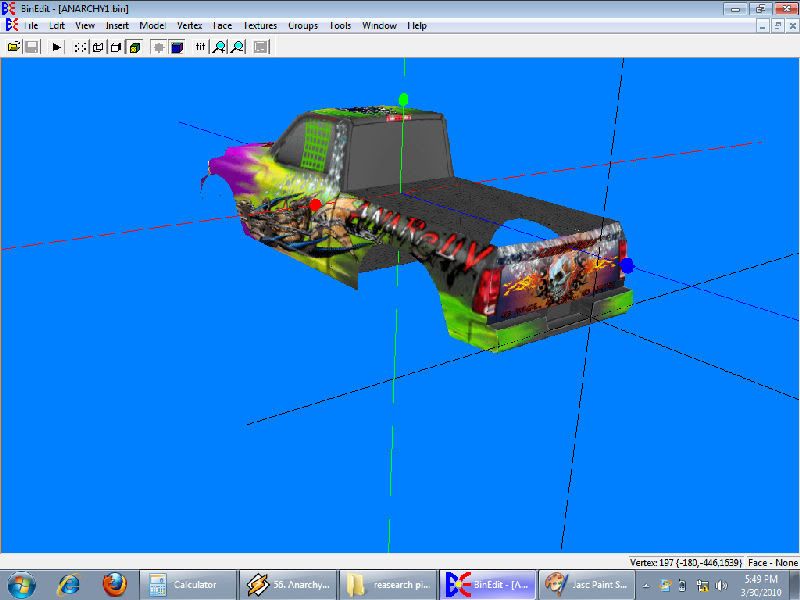
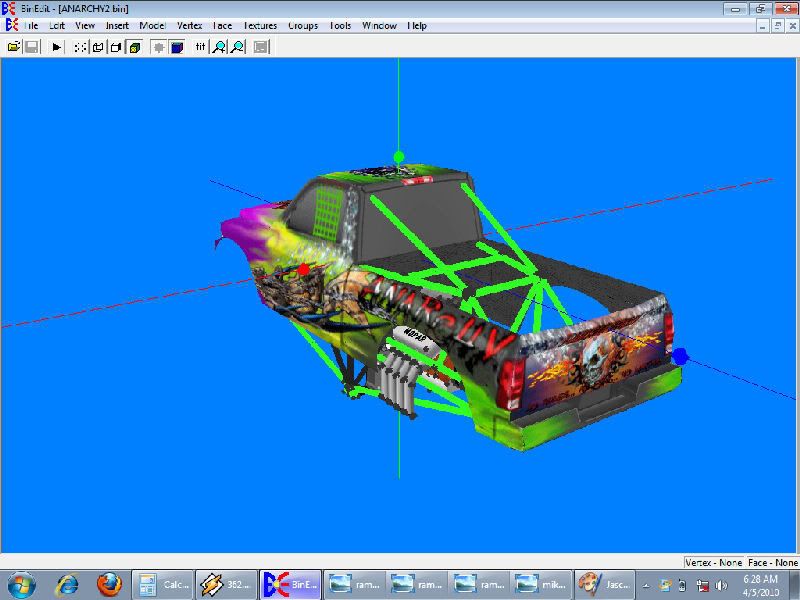
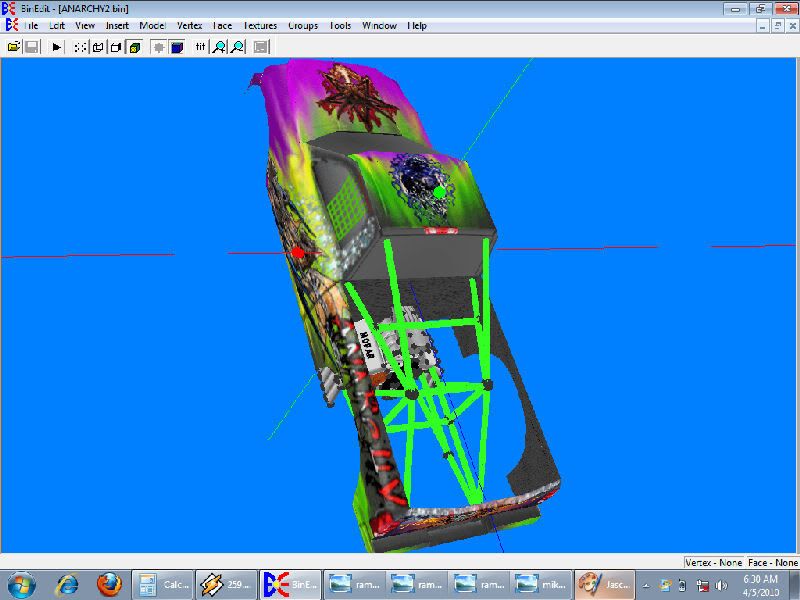
update: the back half of the truck is done and mapped.